How to install SSL Certificate for Managed WordPress Hosting
SSL certificate stands for Secure Sockets Layer.
It protects sensitive data transferred between a server & a client.
Simply put, it encrypts the information transmitted from a Client computer over the not so safe Internet to your WebServer.
Recently, Google has started awarding better rankings for Websites that have an SSL-Certificate installed
Why use SSL certificate ?
SSL-Certificate is a must have for ecommerce websites. It increases the site trustworthiness among its Customers and it also encrypts all the Payment related information. So, the Customer can be rest assured that all his Personal Information is Secure and has not been captured by any hacker on its way to the Server.
Installing an SSL-certificate on your website used to be difficult. After purchasing an SSL certificate, you had to go to appropriate places in your hosting Control Panel and copy over the Certificates, Keys, etc. in the right places.
Thankfully at JustITHosting, adding an SSL-Certificate for Managed WordPress website is just a Point and Click experience.
Steps
These are the steps involved:
- Purchase an SSL Certificate
- Point it to your website
That’s it.
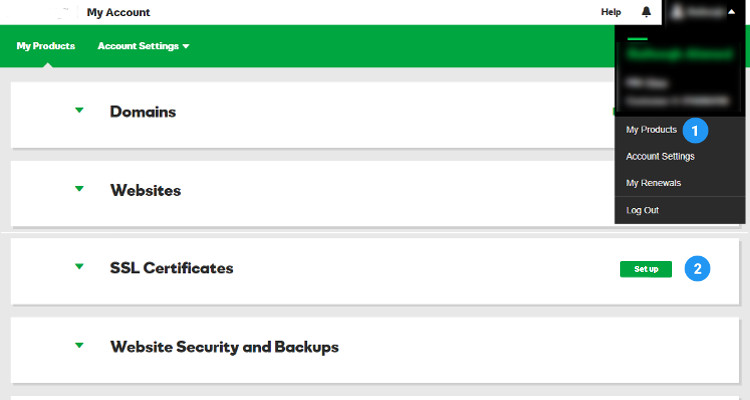
After purchasing an SSL-Certificate, login to your Just IT Hosting – My Account
Under SSL Certificate Click Setup
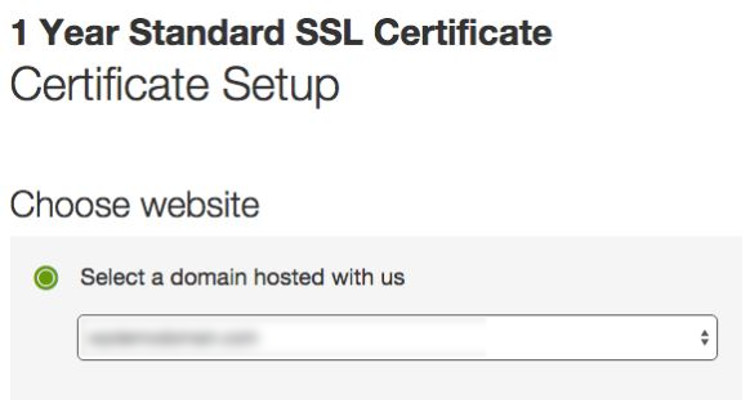
Select the Domain on which to install the SSL-Certificate
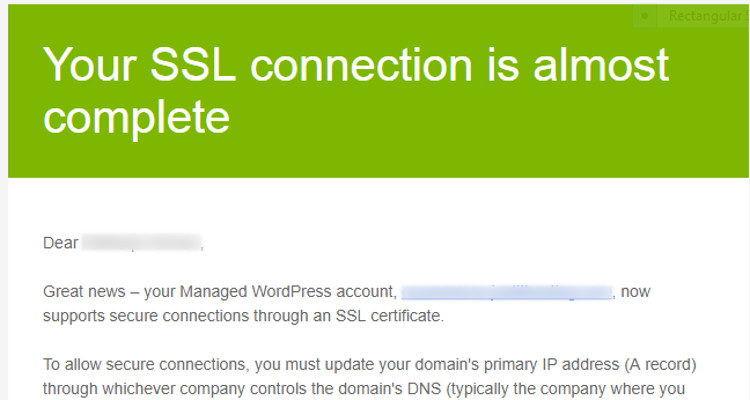
Check your Email for any message regarding SSL Certificate from us
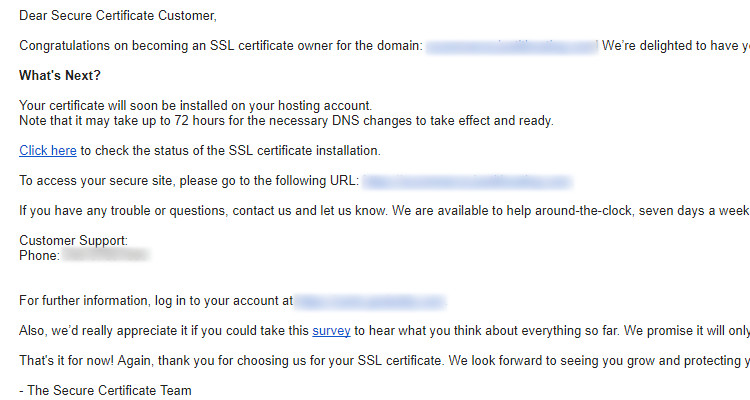
Once SSL certificate has been successfully installed on your website, you will receive another email from us.
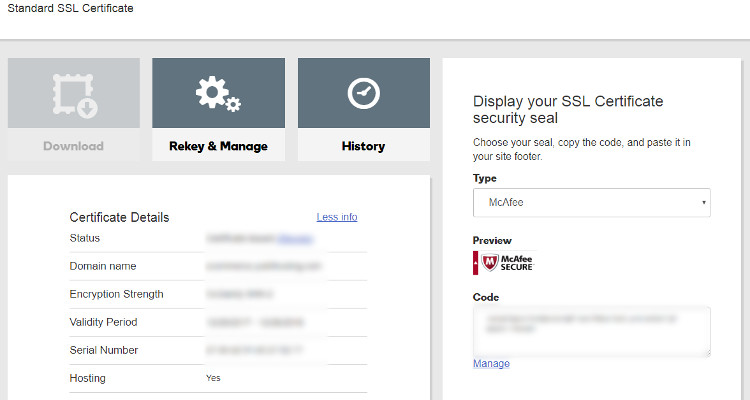
After the SSL-Cert has been installed, your Control Panel now shows the Domain on which the SSL Cert has been installed.
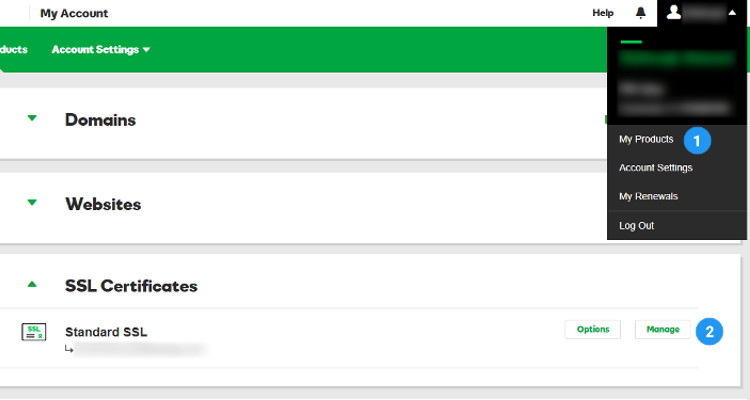
Click on Manage and you can get more information about this SSL-Cert
