Email Marketing – How to Create an eMail Campaign
Now that the List has grown long due to our constant marketing efforts we performed using the last few articles, let’s see how to send emails to our followers who are waiting to hear from us very eagerly.
You can create bold, colorful, clean and professional looking emails using the HTML email programming code that runs in the background. You don’t need to know any html coding because everything in our email composer is ‘drag n drop’, ‘click n edit’ with thousands of royalty free stock Images to choose from.
Every email sent using our JustITHosting Email marketing tool also includes an unsubscribe link which protects you from getting blacklisted.
Steps
Log back into your JustITHosting My Account. If you are already logged in ignore this step.
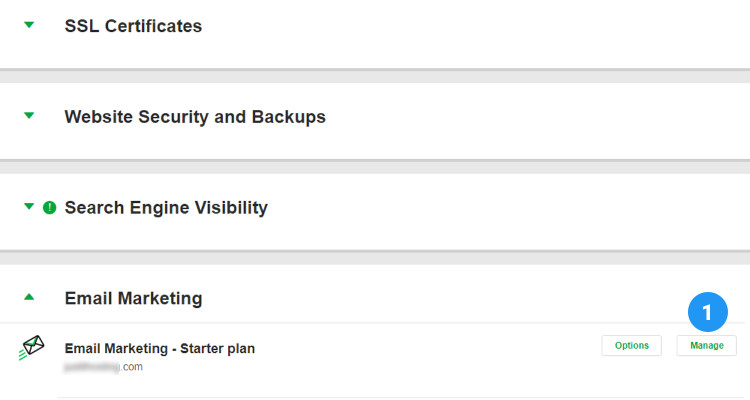
On the top right hand side under your Account name click on My Products. Under Email Marketing, click on the Manage button next to Email Marketing – starter Plan.
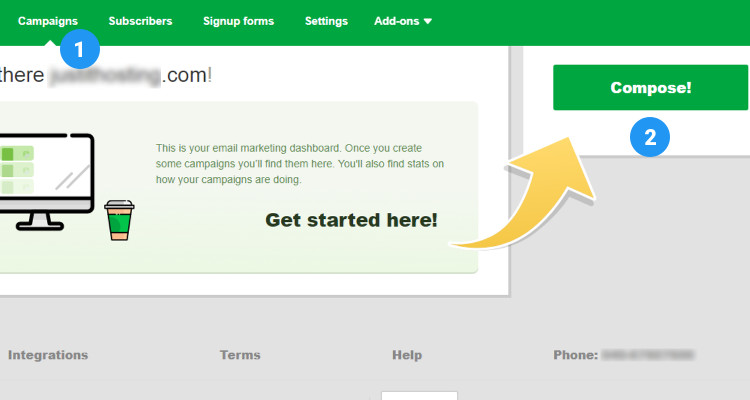
In the next window, click on Campaigns tab and click on Compose button.
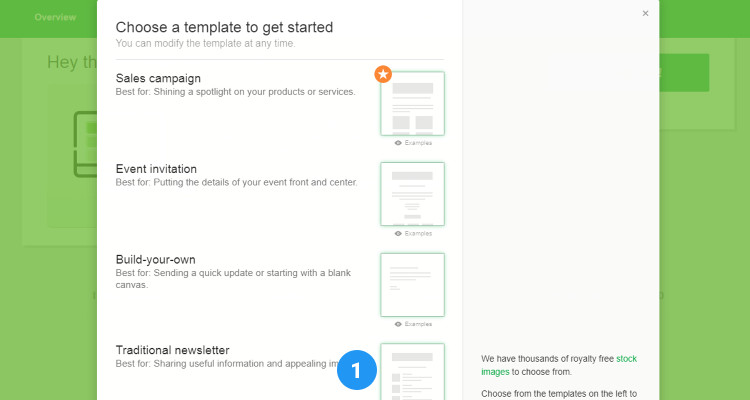
Select from a list of templates based on your promotion type. Let’s select Traditional Newsletter.
Compose your email
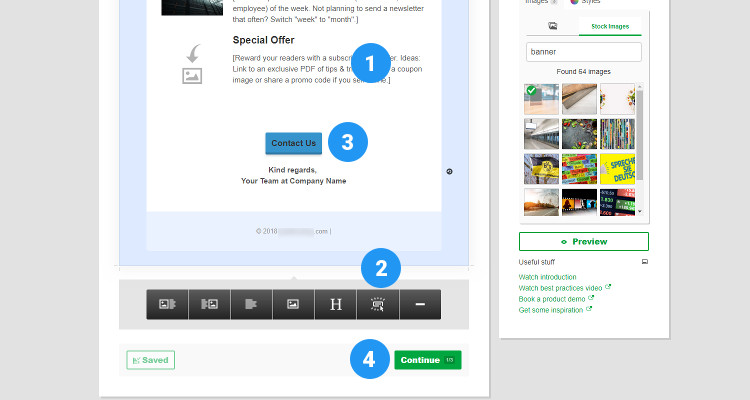
Enter a name for your campaign. You will use this name for analytics and for future references. You can also add a logo and a header image. From the right hand side, you can search for stock image or add an image from your computer. You can also adjust the colors of this email using the ‘Styles’ tab to resemble the colors on your website.
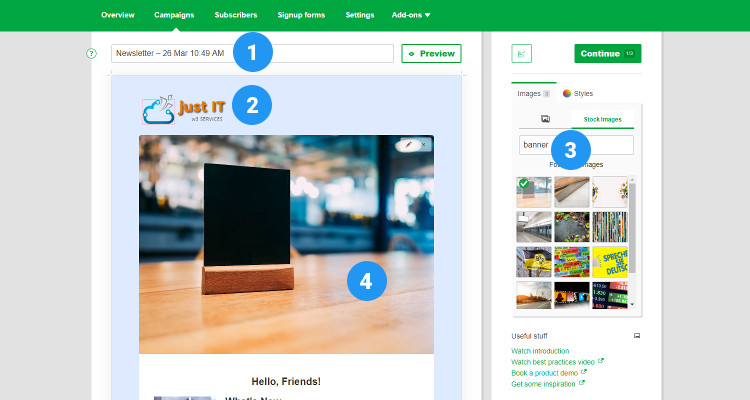
Still in the same window, you can edit the existing image and text in the email body and add your own content just like a wysiwyg editor. You can also drag elements from the bottom to anywhere inside your email. In this example, we have tried to add a ‘Contact Us’ button. Just drag and drop the Contact button from the available tools in the bottom. After you have composed your email, click on Continue button.
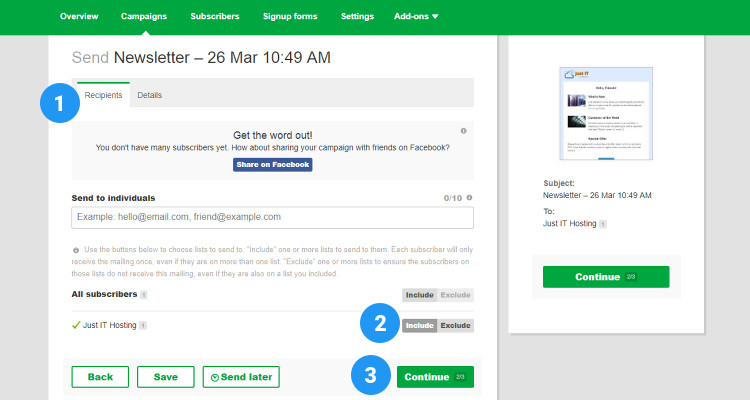
In the Recipients tab, click on the Include button next to the List you want to send to and click on Continue. Furthermore, if you want to send this campaign to more emails that are not on the existing list, just paste them in the ‘Send to Individuals’ fields.
Schedule your email campaign
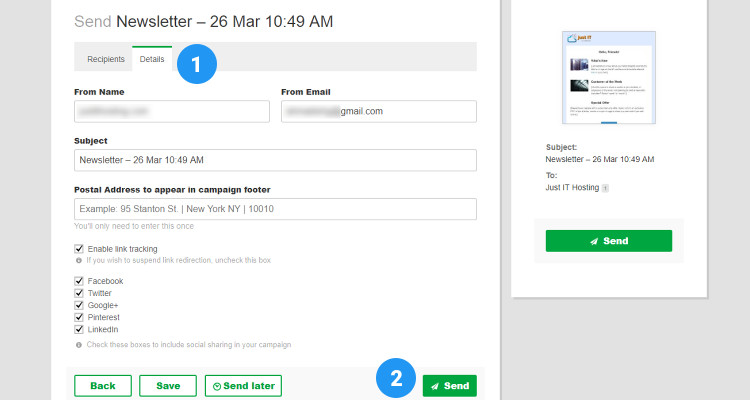
In the Details tab, make sure that all the fields are filled according to the campaign type. Place a checkmark on Enable Link Tracking and all the Social sharing boxes. This will ensure that social sharing is also included in the email campaigns. You can promote this email right away by clicking on the Send button. You also have the option to save this campaign or send it at a later date.
Please follow our Blog on Feedly for all the latest information. If you need more help, please call our Support Department at (480) 624-2500. We are available 24/7. You can also use our Email system for any queries. Just IT Hosting.

