
How to edit a webpage using website builder
In this article we will edit the contents of a web page so we can make it our own. Image and Text elements are the basic building blocks of our website builder. Just click on any element and edit. As far as images are concerned, if you want to insert your own images you need to find its dimensions which is available under the Advanced settings of an Image. The text editor provides us with a basic wysiwyg editor using which you can change the text, font-family, font-size, etc.,
We will learn how to change an existing Theme, add our own images to the Slideshow, edit Text and replace existing images.
Theme
If you do not like the default theme or if you need to change the look and feel of your existing website you can choose a different theme from our repository which have been categorized based on your needs.
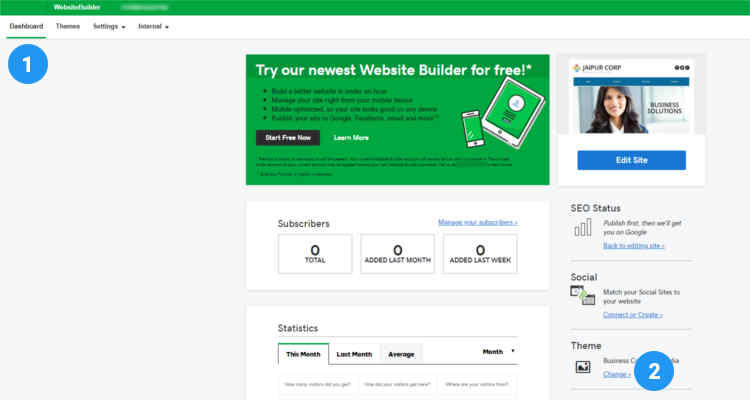
In the website builder dashboard under Themes click Change.
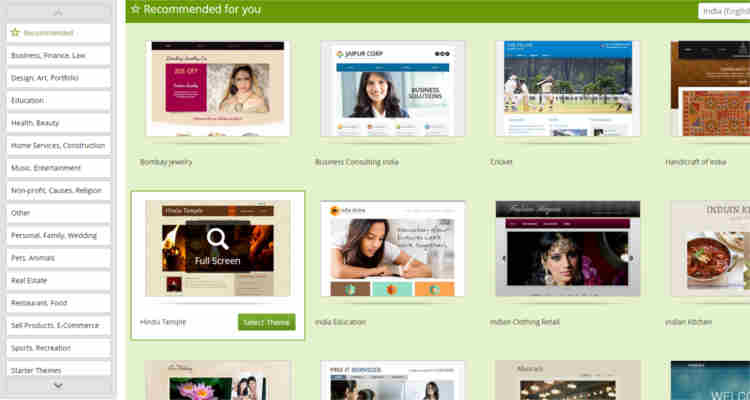
In the next window you can select a theme suitable for your business functionality.
Slideshow settings
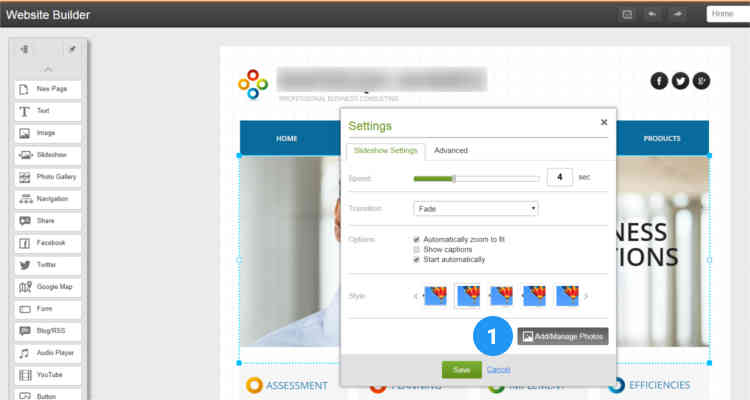
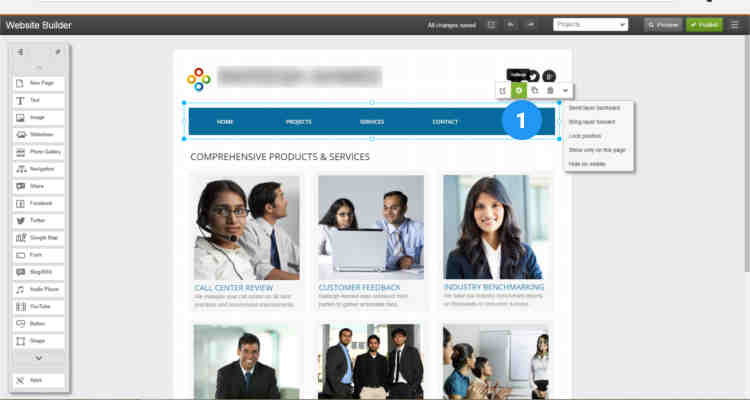
First let’s see how to change the images of the slideshow. Click on the Slideshow and click on Settings. Also note that the drop down arrow gives us the option to
Send layer backward
Bring layer forward
Lock Position
Show on all Pages
Hide on Mobile.
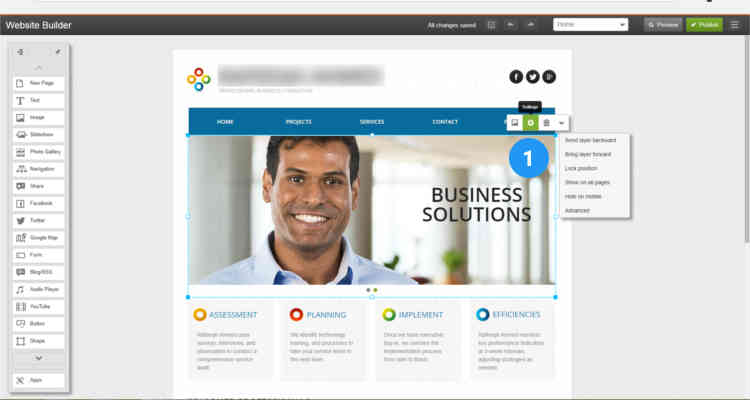
Just like the concept of ‘Layers’ in any photo editing software like Photoshop or GIMP every element in our website builder whether text or image is a layer. You can add an image or text over an existing layer. You can also move an element in a layer forward or backward. Always send a larger layer backward and a smaller layer forward.
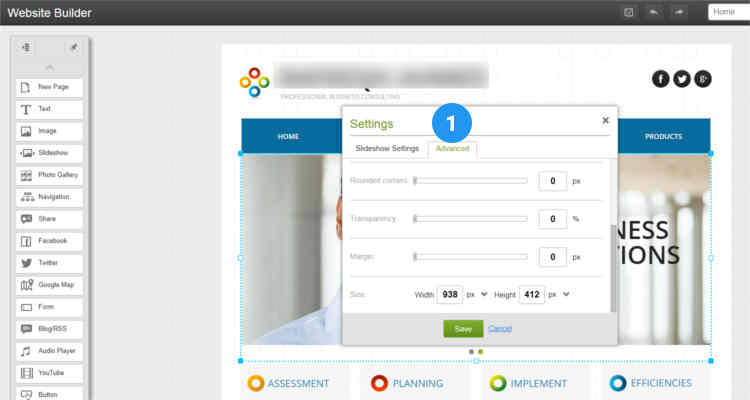
In the ‘Settings’ window click on the Advanced tab. If you have your images to insert in this slideshow, note down the width and height to which to resize your images.
Next click on the ‘Slideshow Settings’ tab and click on Add/Manage Photos.
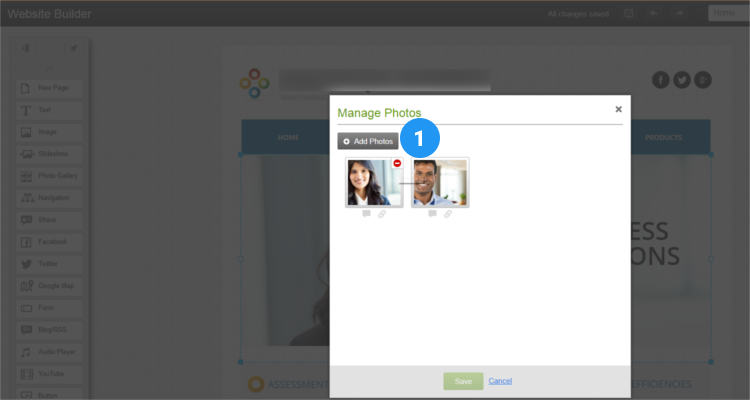
In the ‘Manage Photos’ click on Add Photos. If you want to delete an existing image click on the red ‘–‘ sign at the top right corner of an image.
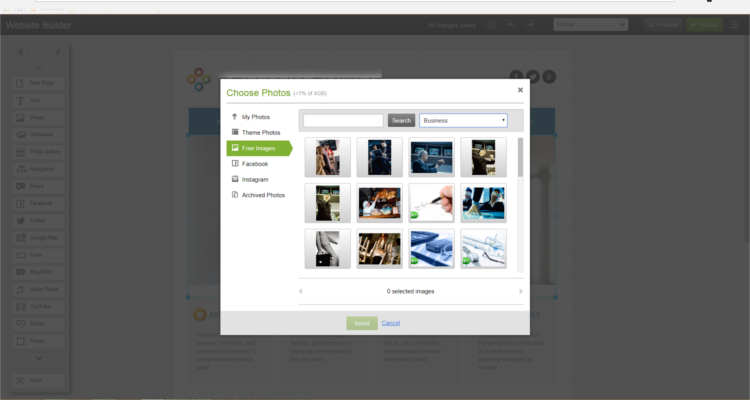
In the next window you can upload your own images using ‘My Photos’ or select appropriate images using ‘Free Images’.
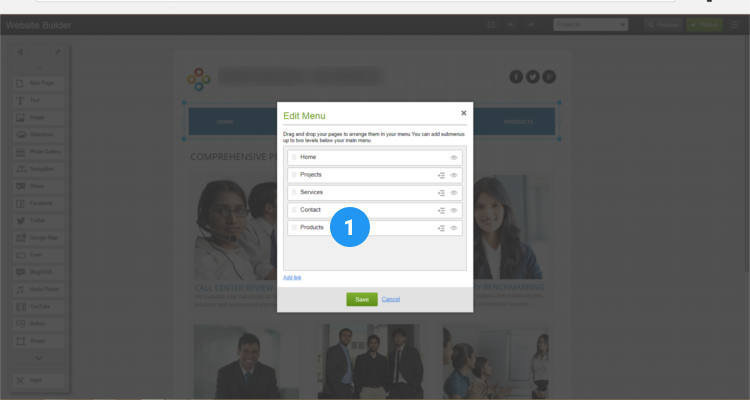
Rearrange Menu
Right click on the Navigation menu and click on Settings. Under the drop down menu you have the same options previously discussed under Slideshow settings.
In the ‘Navigation Settings’ window click on Edit menu

Click on the dotted lines in front of a menu name and drag it to your favourite position.
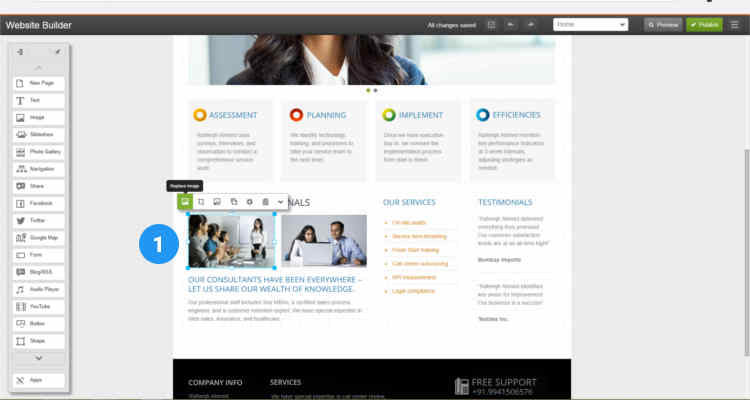
Replace an Image
Click on an Image and click on Replace Image. As mentioned earlier, you can find the dimensions of this image under Settings – Advanced tab.
Logo – you can use this approach to also change your logo image.
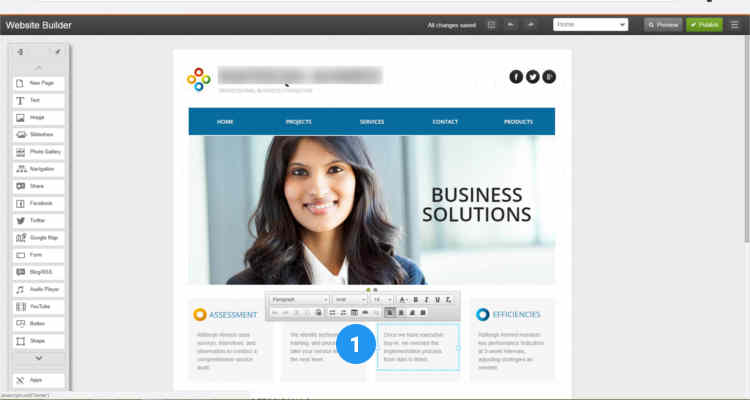
Edit Text
Click on any Text and click on Edit.

You can now change the text in the box and format it using the wysiwyg editor.
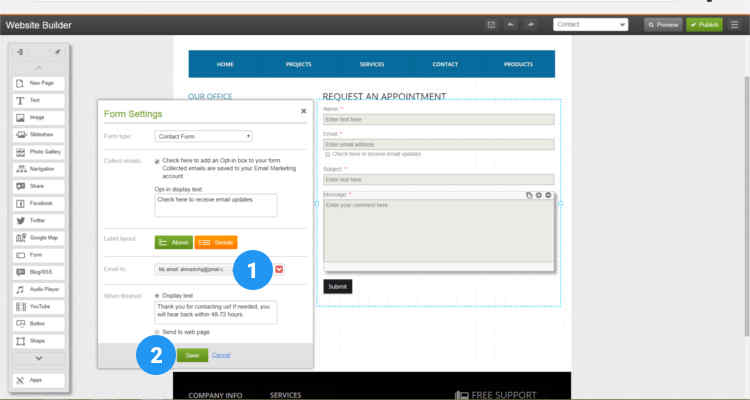
Contact Us – Form Settings
Next let’s see how to change the contact form settings. Click on the Contact Us page. Click on the Contact form and click on Settings.
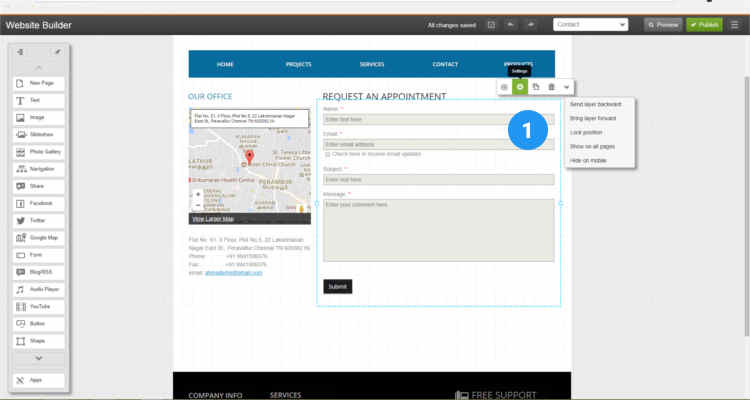
Here you can change the Display text and the email address to send the message to.
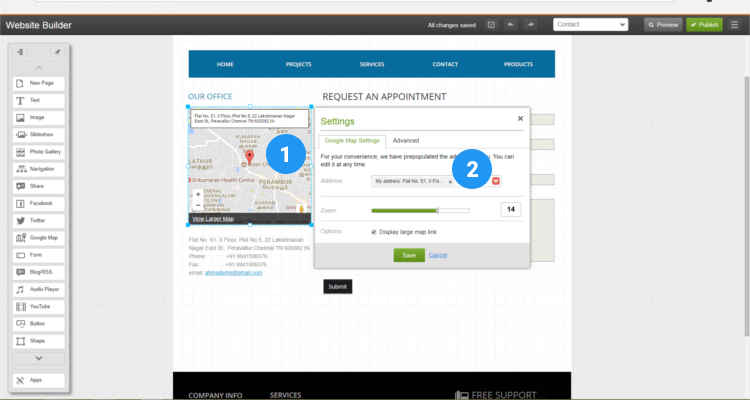
Google Map
The Google map in the ‘Contact Us’ page fetches the address that we previously entered in How to create a website using website builder (Refer Fig. 05)
When you click on the Google map the Settings icon let’s you change the address of the map display. For security purposes you can choose to delete the email address information in the text box below Google map.
So, in this article we learnt how to change the slideshow images, change text and image using the website elements. There are also other elements in the website builder which you can learn to use and use it on your website.
Please follow our Blog on Feedly for all the latest information. If you need more help, please call our Support Department at (480) 624-2500. We are available 24/7. You can also use our Email support system for any queries. Just IT Hosting.
magnificent issues altogether, you just won a emblem new reader.
What may you recommend about your publish that you simply made a few days in the past?
Any positive?