
How to install Zen Cart in cPanel
Zen Cart is an online store management system. It is PHP-based, using a MySQL database and HTML components. Support is provided for numerous languages and currencies, and it is freely available under the GNU General Public License.
Some popular shops built on Zen Cart are
Isabel Harris
Moissanite co
Katiepie
Floracopeia
Bachmann Trains
In this article let’s see how to install Zen Cart manually on a cPanel web hosting server.
Things needed:
- cPanel link, username and password
- Zen Cart zip file
Step 1 – Creating a Database
As with any other eCommerce shopping cart, Zen Cart requires a Database to function properly. First create a Database and an associated username using the cPanel. Please note down the Database name, Database username and password. We will use them in the consecutive steps.
Step 2 – Upload the Zen Cart Zip file in your cPanel file manager
Next login to cPanel and upload the latest Zen Cart zip file in your cPanel(public_html folder). public_html corresponds to your www root folder.
Once the file has been uploaded successfully, right click on it and click ‘extract’. (Refer Fig: 3 in Upload and Install Joomla CMS in your cPanel)
Once all the files have been successfully unzipped, we will use the domain name to install the Zen Cart shopping cart and build our online store.
Step 3 – Install Zen Cart
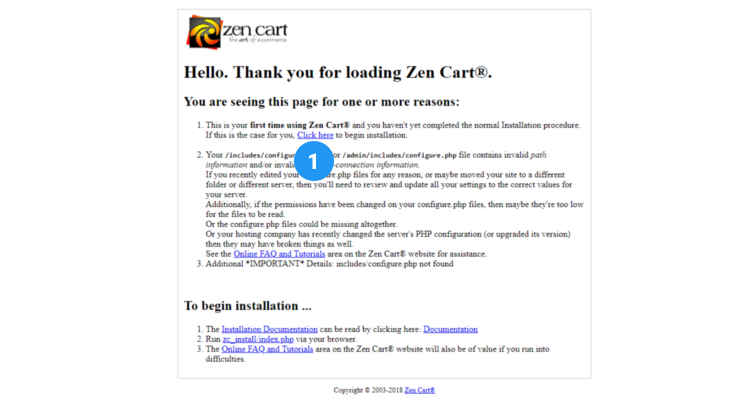
Open your favourite web browser and type your Domain name (www.yourDomain.com) in the address bar. You will now see the installation script.
Keep the following things handy:
- A Database name, Database username and Password (already created using Step 1)
- An Email address, username and password for Zen Cart backend administration.
In the welcome screen press the ‘Click here’ link to get started.
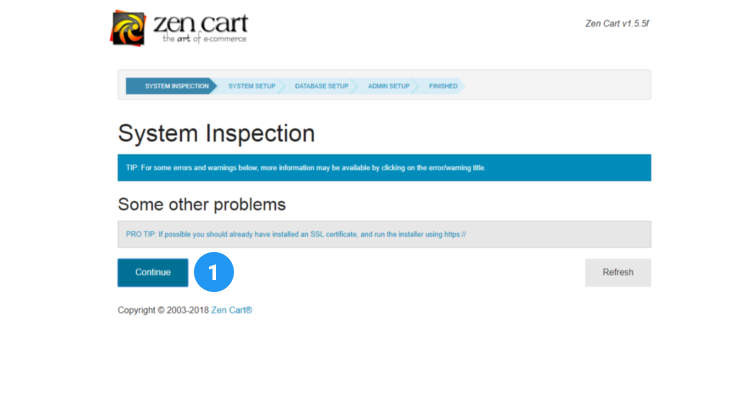
In the ‘System Inspection’ window click on Continue button.
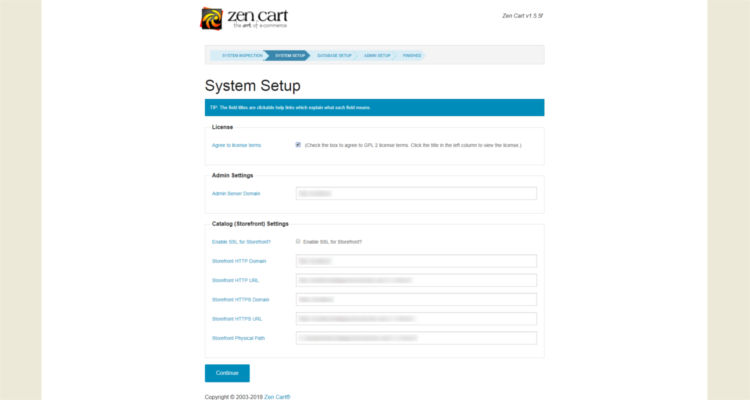
The ‘System Setup’ window lists out the store URL’s for http and https access and the physical path of the store in the server. Click on ‘Continue’ button.
Database Configuration
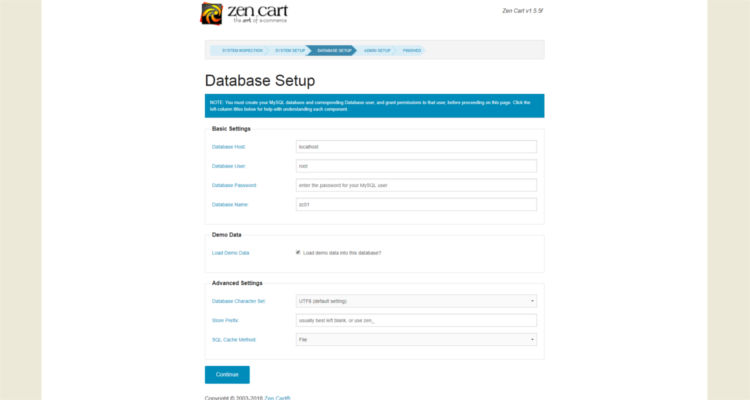
In the ‘Database Setup’ window enter the following details :
- db Host
- database User
- db Password
- database Name
And if you are working on a development server also click on ‘Load Demo data into this database’. So that, you will have some demo catalog to work on. You can always delete the demo data before setting up your actual store. Click on ‘Continue’ button.
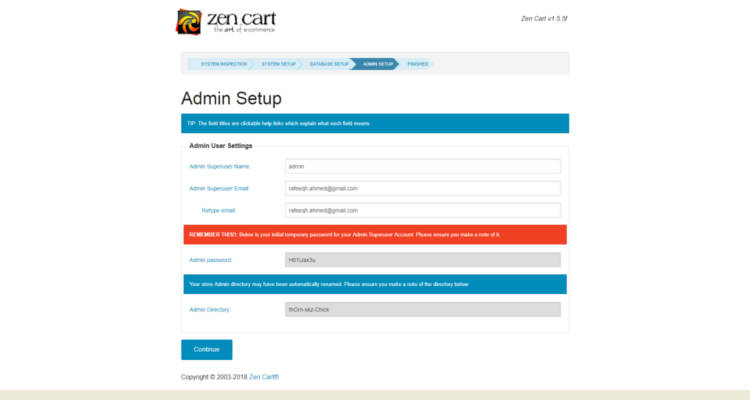
Backend Admin Configuration
In the ‘Admin Setup’ window enter the following details
- SuperUser Name (Admin)
- SuperUser Email (Admin)
- Password (Admin)
- Directory (Admin)
All these details will be used in setting up your Zen Cart backend administration.
Click on the Continue button.
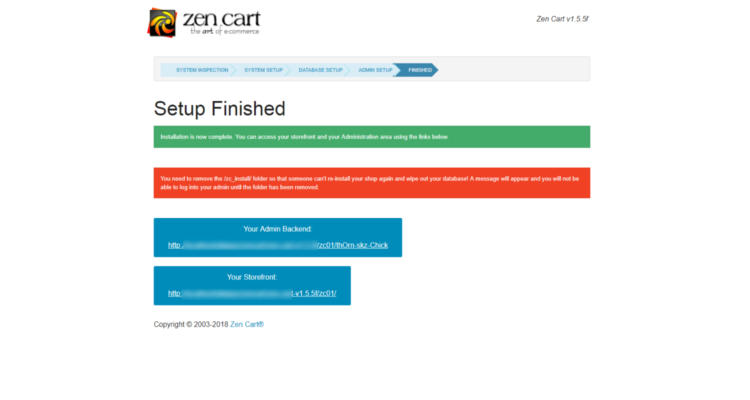
The ‘Setup Finished’ window lists out the links to go to your Admin Backend and Storefront after the installation has been successfully completed. Do not forget to delete the ‘zc_install’ folder in public_html directory.
Now that we know how to install ZenCart ecommerce shopping cart we will in other articles see how to build the online store based on ZenCart step by step.
Please follow our Blog on Feedly for all the latest information. If you need more help, please call our Support Department at (480) 624-2500. We are available 24/7. You can also use our Email support system for any queries. Just IT Hosting.