
How to download and Install Magento 2 in XAMPP with Sample data
In this article, let’s see how to download and install Magento 2 Open Source along with sample data on your local XAMPP server development environment.
Magento is one of the leading eCommerce platforms used for building an online store. It is a high performance, scalable solution with powerful out of the box functionality and a large community built around it that continues to add new features.
Things needed:
XAMPP local development server
Magento 2 Open Source
7z zip software
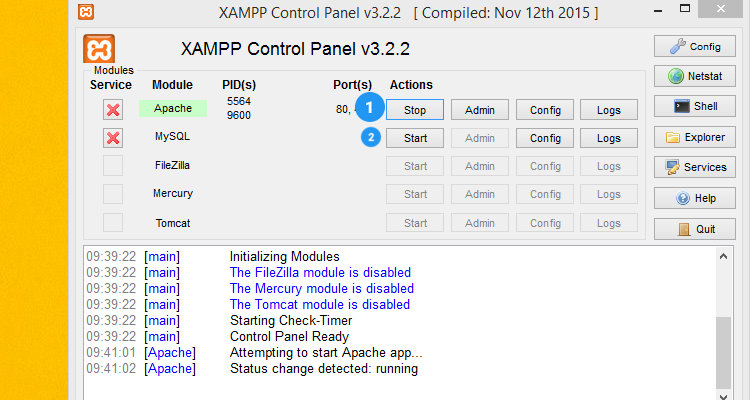
In the XAMPP control panel, click on Start next to Apache and MySQL
Step – 1 Create a Database
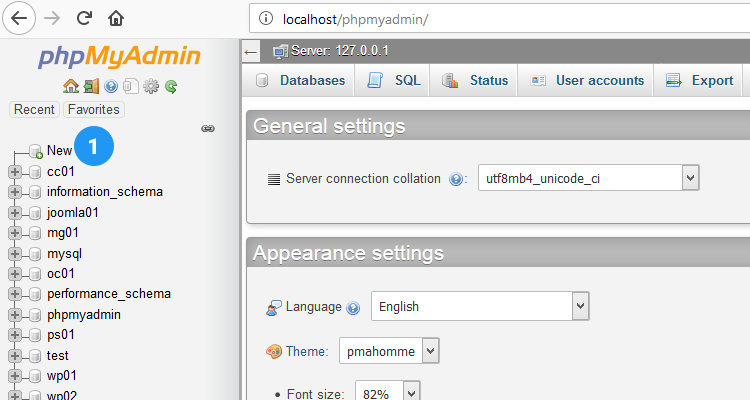
Open up your favourite browser (Google Chrome or Mozilla Firefox) and browse to http://localhost/phpmyadmin
Click on the New button on the left hand side as shown in the following figure.
Next enter a suitable name for your database and please make a note of it we will this information in the consecutive steps. Since this is a local development environment the default Database Username is root and the Database password field will be left empty.

Step 2 – Unzip the downloaded zip file.
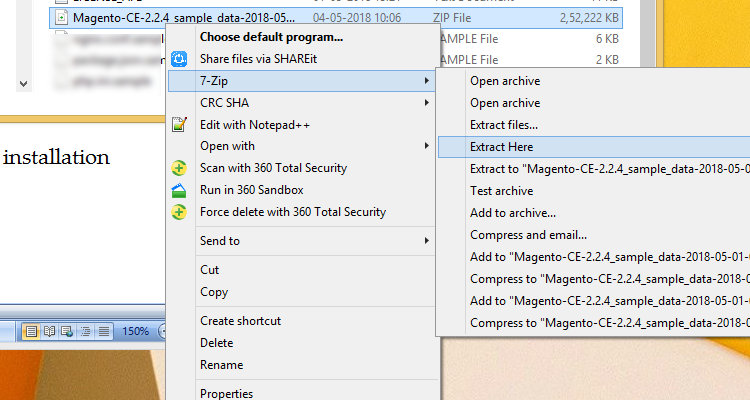
After downloading the Magento2 zip file, copy it to C:xampphtdocs (default XAMPP www root directory)
Right click on the Magento2 Zip file. Click on 7-zip -> Extract Here
Step – 3 Install Magento 2
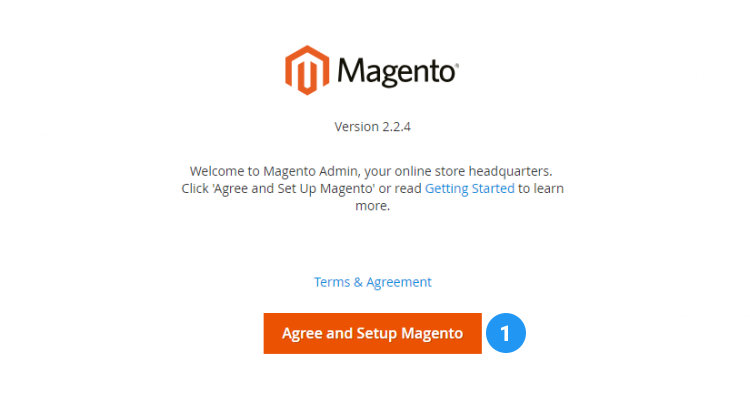
Open up your favourite browser (Google Chrome or Mozilla Firefox) and browse to http://localhost/
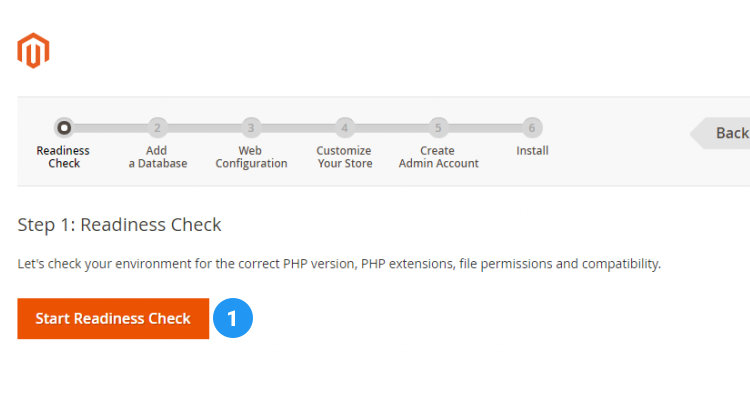
The Welcome screen of the Magento installation script is displayed. Click on Agree and Setup Magento.
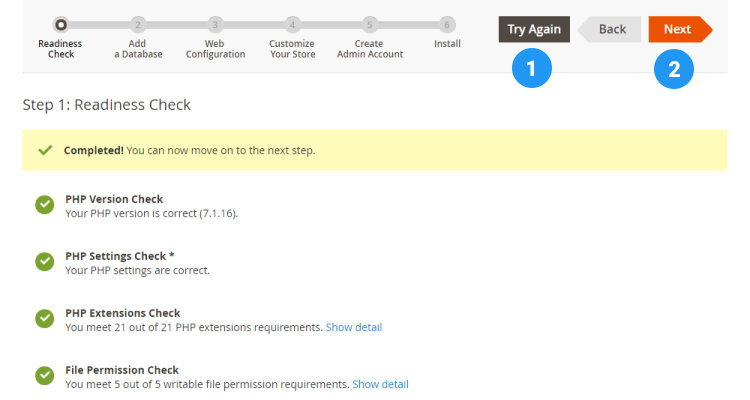
A basic test is performed to check the correct PHP version, PHP extensions, file permissions and compatibility – click on ‘Start Readiness Check’
Any incompatibility issues are displayed in the next window.
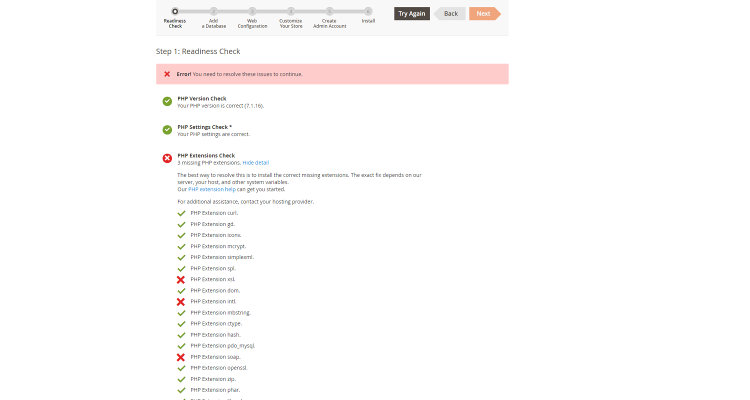
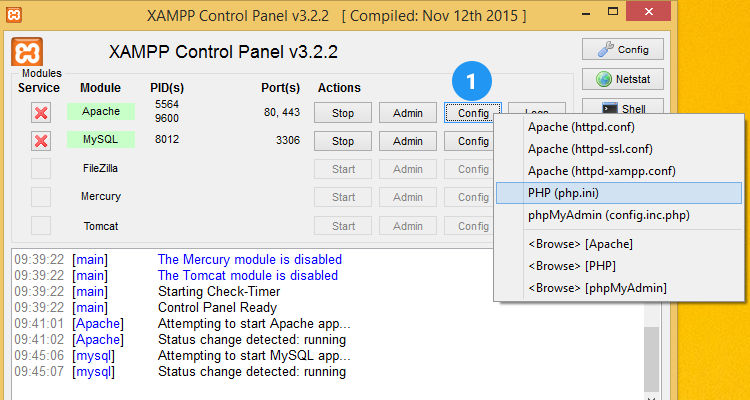
To remove the displayed errors go back to your XAMPP control panel. Click on the ‘Config’ button next to Apache and click on php.ini
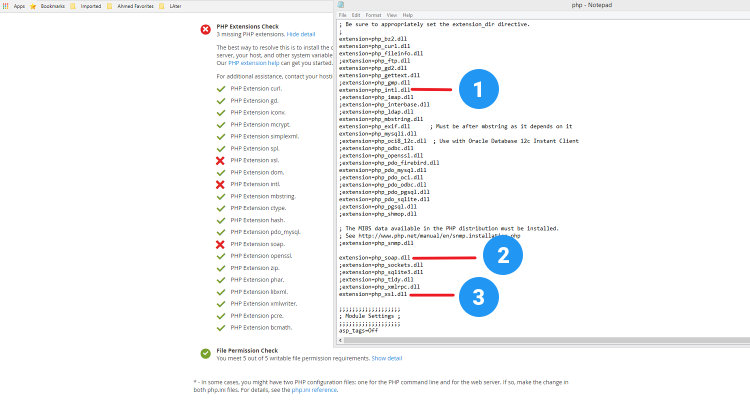
Remove the semicolon (;) next to
extension=php_intl.dll
extension=php_soap.dll
extension=php_xsl.dll
as shown in the following figure. After the changes have been performed click on File -> Save.
‘Try Again’
Back in the installation script window, click on the ‘Try Again’ button. If all the tests are completed successfully, click on the ‘Next’ button.
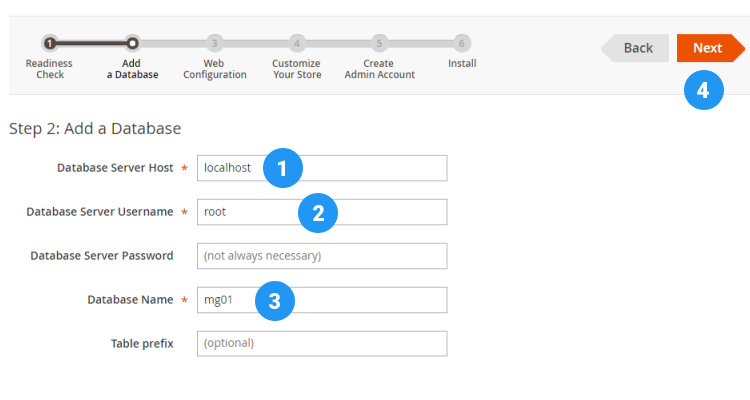
In the ‘Add a Database’ window enter all the information regarding your database as shown in the figure and click on Next.
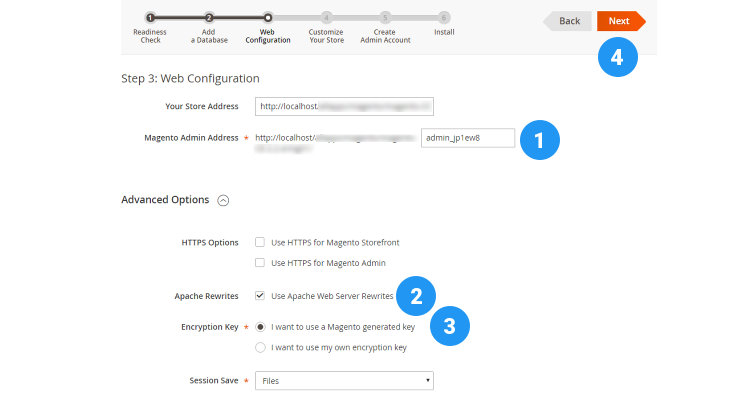
In the ‘Web Configuration’ window check your Store address and note down the Magento Admin backend address. In the Advanced Options select the options as shown in the figure.
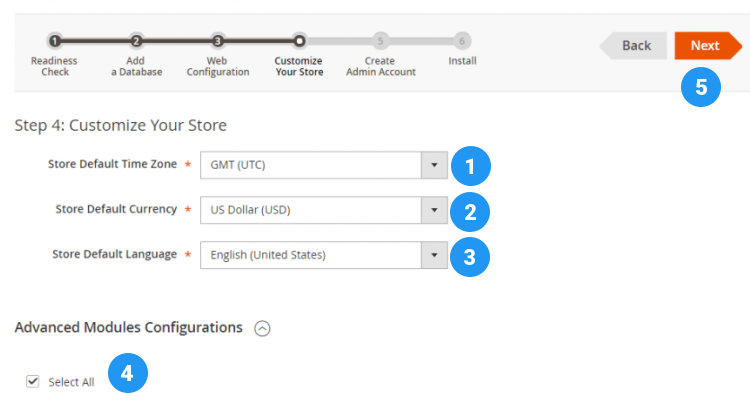
In the ‘Customize your Store’ window select the default Time Zone, Currency and Language. Under Advanced Modules Configuration click on ‘Select All’ and click on ‘Next’.
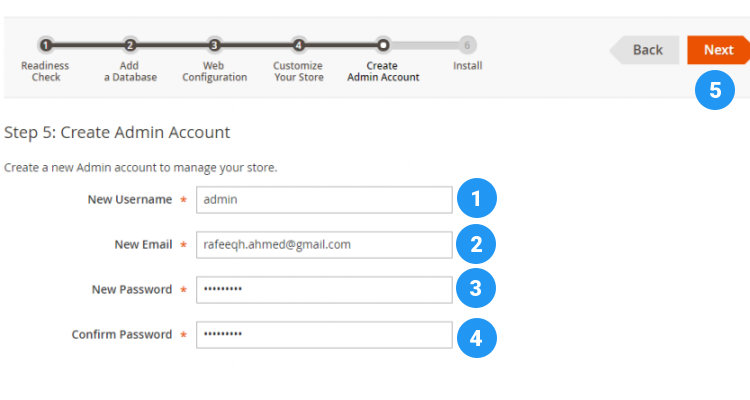
Enter a Username, email address and password for your Admin backend.
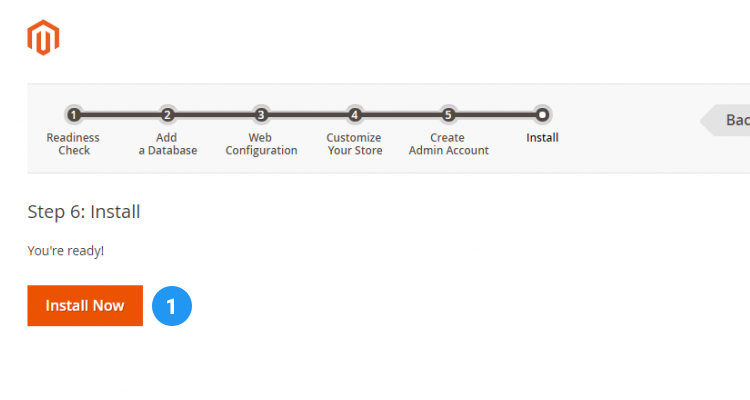
In the next step click on the ‘Install Now’ button.
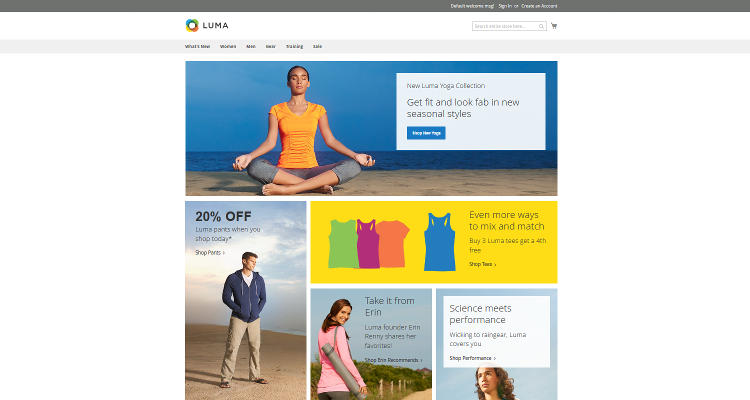
After the installation has been successfully completed, you can access your website using the following address http://localhost/.
The backend admin centre can be accessed using the link shown in Fig. 12
The completed Magento 2 store with sample data
Please follow our Blog on Feedly for all the latest information. If you need more help, please call our Support Department at (480) 624-2500. We are available 24/7. You can also use our Email support system for any queries. Just IT Hosting.