How to Install wordpress in cpanel
WordPress is easily the most popular Content Management System when it comes to building a website. There are hundreds and even thousands of wordpress themes and plugins that are regularly maintained and updated. Whenever there is an update to WordPress core, the developers also update their plugins and themes so that they are compatible with the latest version of WordPress.
Using the WordPress as a basic framework you can build
eCommerce websites
Learning Management Systems
Property Management Systems
Social Networking site
Forums
Booking Management Systems
Jobs Portal
Classified Ads
HelpDesk, etc.,
Some popular websites built on WordPress CMS are
Sweden’s Official Website
Microsoft News Center
cPanel Blog
Usain Bolt
Facebook Newsroom
In this article, let’s see how to upload and install WordPress manually on a cPanel hosting web server.
Things needed:
- cPanel link, username and password
- WordPress zip file
- Notepad++
- 7z zip software
Step 1 – Create a Database
Database is at the heart of WordPress CMS. So, first of all let’s create a Database and an associated username using the cPanel. Please note down the Database name, Database username and password. We will use them in the consecutive steps.
Step 2 – Prepare the WordPress Configuration file
Prepare the WordPress Configuration file (wp-config.php)
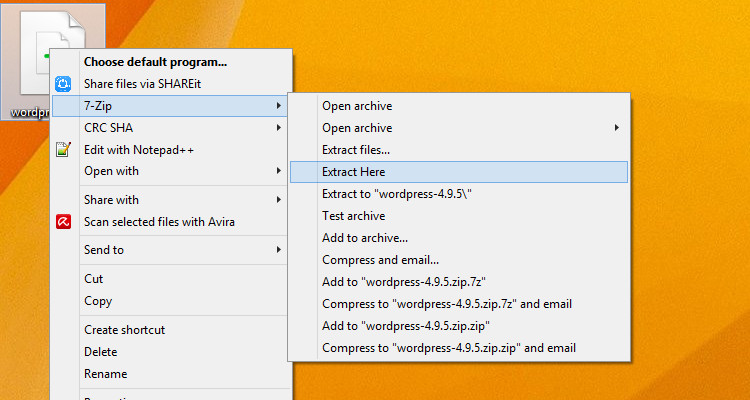
Right click on the WordPress.zip file that you have downloaded and click on ‘Extract Here.’
Double click on the newly extracted WordPress folder

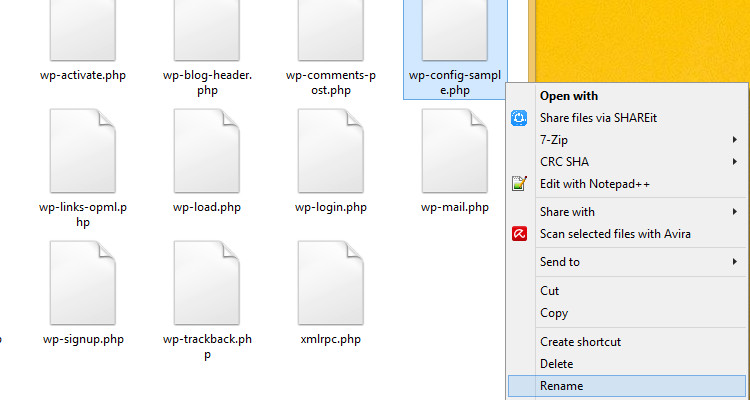
Locate wp-config-sample.php file. Right click on it and click ‘Rename’. We need to change the name of this file to wp-config.php
This is the main WordPress configuration file that contains database and other vital information about your website. This file needs to be kept safe and protected.
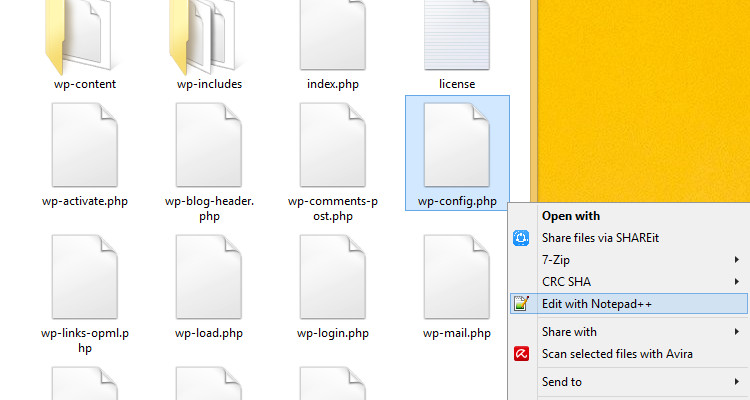
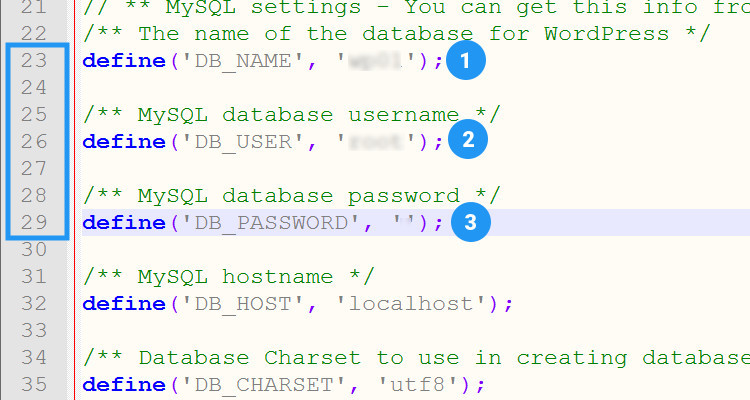
Now right click on the wp-config.php file and click on Edit with Notepad++
Enter the database name, database username and password in their appropriate places.
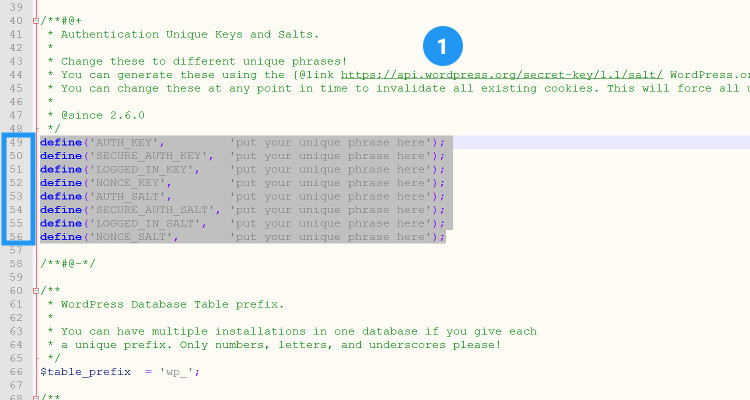
Still in the same window scroll down to the position shown in the figure and copy the link shown into your favorite browser. We need to grab the SALT keys provided by this link and paste it into the highlighted region.
Also, if you are more concerned about security you can change the default table prefix to your liking.
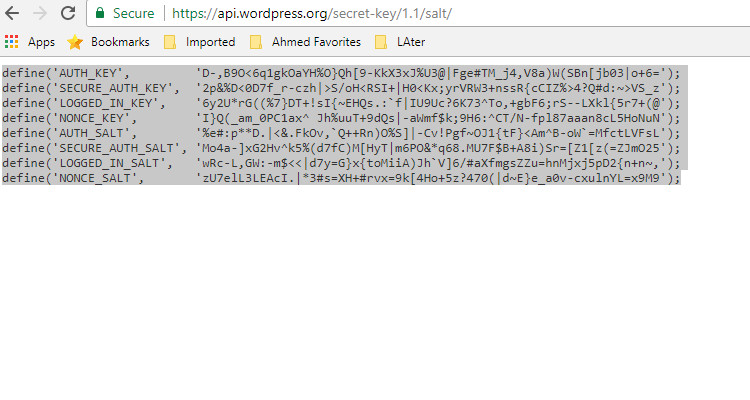
Copy the link from the previous step in any one of your favorite browser. Select the entire code and press Ctrl C to copy.
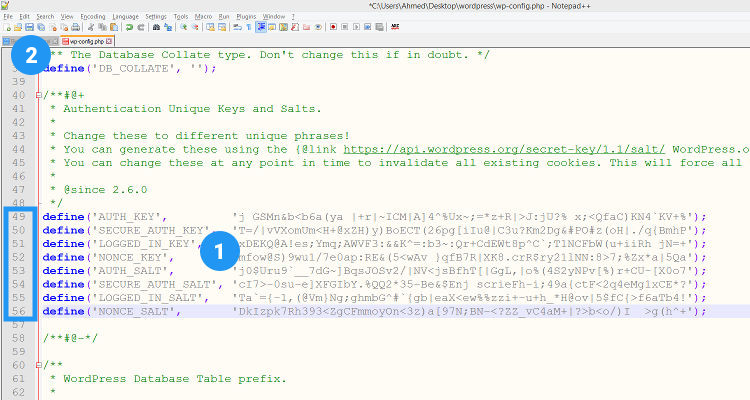
Paste the code in the previously highlighted region and click on Save. (Refer Fig. 06)
We know this procedure has been too long to follow. But this is the best, safe and the most secure manual installation of your wordpress website.
Step 3 – Upload the WordPress Zip file in your cPanel file manager
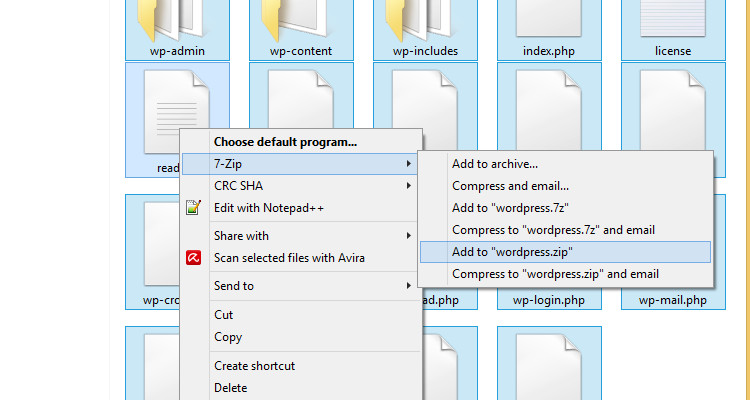
Now back in the WordPress folder (Refer Fig: 3) press Ctrl A to select all the files and folders. Right click on any one of the highlighted items and click 7-Zip -> Add to WordPress.zip. This new file will be listed along with the other files and folders in the same wordpress folder. We will be uploading this new zip file to our cPanel file manager.
Next login to cPanel and upload the newly created WordPress zip file in your cPanel(public_html folder). public_html corresponds to your www root folder. Once the file has been uploaded, right click on it and click ‘extract’. (Refer Fig: 1 thru 3 in Upload and Install Joomla CMS in your cPanel)
Once all the files have been successfully unzipped, we will use the domain name to install the WordPress CMS.
Step 4 – Install WordPress
Open your favourite web browser and type your Domain name (www.yourDomain.com) in the address bar. You will now see the installation script.
Keep the following things handy:
- A Database name, Database username and Password (already created using Step 1)
- A username for WordPress backend-administration.
- Email address
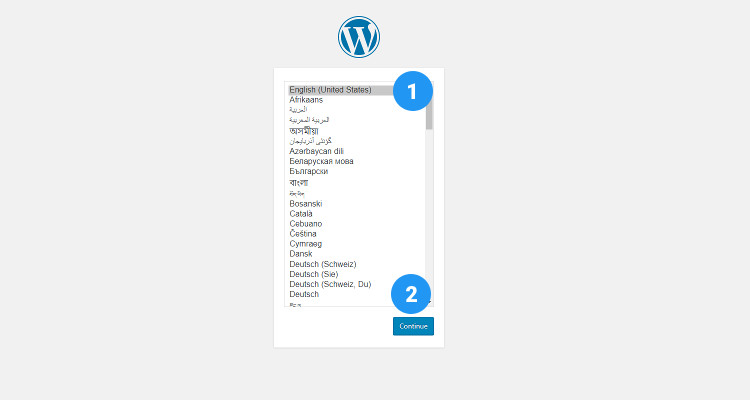
Properly preparing the configuration file using the steps listed above reduces the number of steps in wordpress installation. Select your favorite language and click ‘Next’.
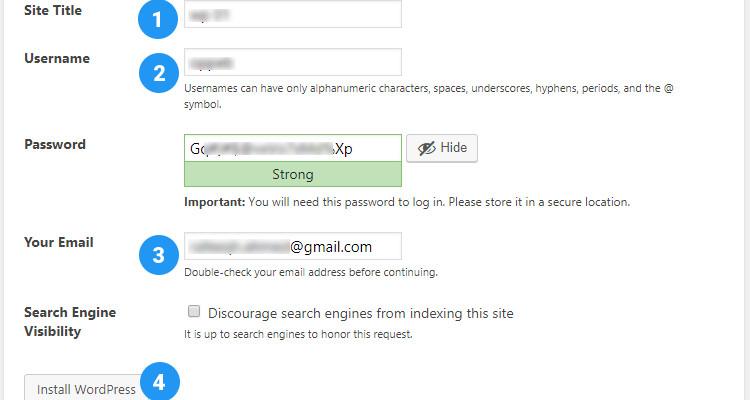
Enter the Sitename, username and your email address. Please do not forget to copy the automatically generated password and store it in a safe location. We will be using this to login to our administration backend.
Finally click on ‘Install WordPress’.
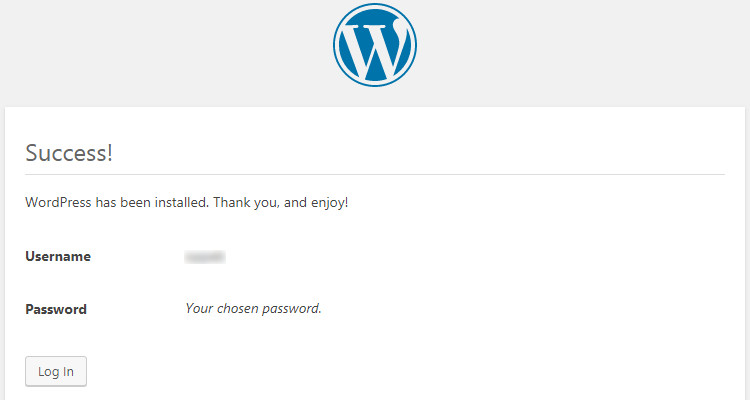
Congratulations. You are all set to build your own website.
Please follow our Blog on Feedly for all the latest information. If you need more help, please call our Support Department at (480) 624-2500. We are available 24/7. You can also use our Email support system for any queries. Just IT Hosting.